17 Style Upgrades to Transform your Kids’ Room
Your little one is getting bigger—or possibly a bit bored with the current décor (hey, it happens to the best of us, big and small!)—and a bedroom refresh is in order. But no need for a major makeover. Happily, there are lots of simple, budget-friendly ways to give a room a new look and feel. Try a splash of color. Have some fun with patterns. Organize toys so there’s more space to play. Read on for these and other simple ideas that’ll work wonders.
1. CREATE AN ACCENT WALL
Transform one of the walls in your child’s room into a chalkboard and the answer to “Can I draw on the walls?” will always be “Yes!” To make it happen, start by sanding the wall smooth (a smooth surface equals better chalkboard-like results). Then cover wall with at least two coats of chalkboard paint. After paint is completely dry, which can take a few days, rub a piece of chalk across wall, then wipe off with a soft cloth. Let your little artist go to town. Alternately, cover one wall with a mural or wallpaper in an intriguing pattern.

Toys featured: Velveteen Dinosaur collection
2. SWAP OUT BEDDING
New linens and accent pillows are an easy-as-pie way to freshen up a bedroom. Your child’s favorite colors or things (dinos, magic, space, etc.) can be your inspiration jumping off point. Don’t be afraid to mix and match patterns and shades.
3. GET HOOKED
Hang wall hooks in fun colors or shapes low enough for kids to reach. Use them for hanging dress up clothes, jackets or hats.
4. MAKE YOUR OWN ART GALLERY
Create a gallery wall in your child’s room out of family photos, kid art or other favorite images. Matching frames can pull the look together. Or choose a variety of different frames for a relaxed, boho vibe.
5. UPGRADE HARDWARE
Switch out knobs on a dresser or a table with drawers to give the furniture a more polished, unique feel.
6. LET THERE BE LIGHT
New lighting—be it a floor or table lamp or a pendant light—is a lovely way to cheer up a room and there are so many attractive options. Consider texture, shape and size when making your choice. A paper lantern might have a whispery, organic feel. An oversized pendant becomes a bold, geometric centerpiece.
7. LAYER IN EYE CANDY
Garlands, mobiles and removable wall decals all offer big visual impact without a lot of DIY know how.

Photo credit to @to.thesimpleheart
Toy featured: Musical Lili Llama
8. INTRODUCE STYLISH STORAGE
As your child gets older, the question, “Where to put the toys?” will loom ever larger. So, look for furniture items that can do double duty as storage: storage benches, ottomans with lids, trunks and beds with drawers.
Toy featured: Natural Baby Beads
9. GIVE YOUR WINDOWS A MINI MAKEOVER
New curtains or shades are a huge help when you’re seeking a new bedroom look. And if the rest of your child’s room has a softer, more neutral palette, window treatments are a great place to incorporate a bold pattern. The strong colors or print will add energy without overwhelming the space.

Featured toys: Natural Baby Beads, Safari Zebra Activity Toy.
10. BRING IN THE OUTDOORS
A little nature is always a nice touch in a bedroom. Snake plants and philodendrons are hardy and have air filtering properties. Succulents are also easy to maintain (just steer clear of too-poky plants like cacti). For bigger impact, try the bird of paradise or a money tree. Hanging baskets get flowers and greenery up out of reach.

Featured toys: Celestial Star Explorer, So Deer To Me.
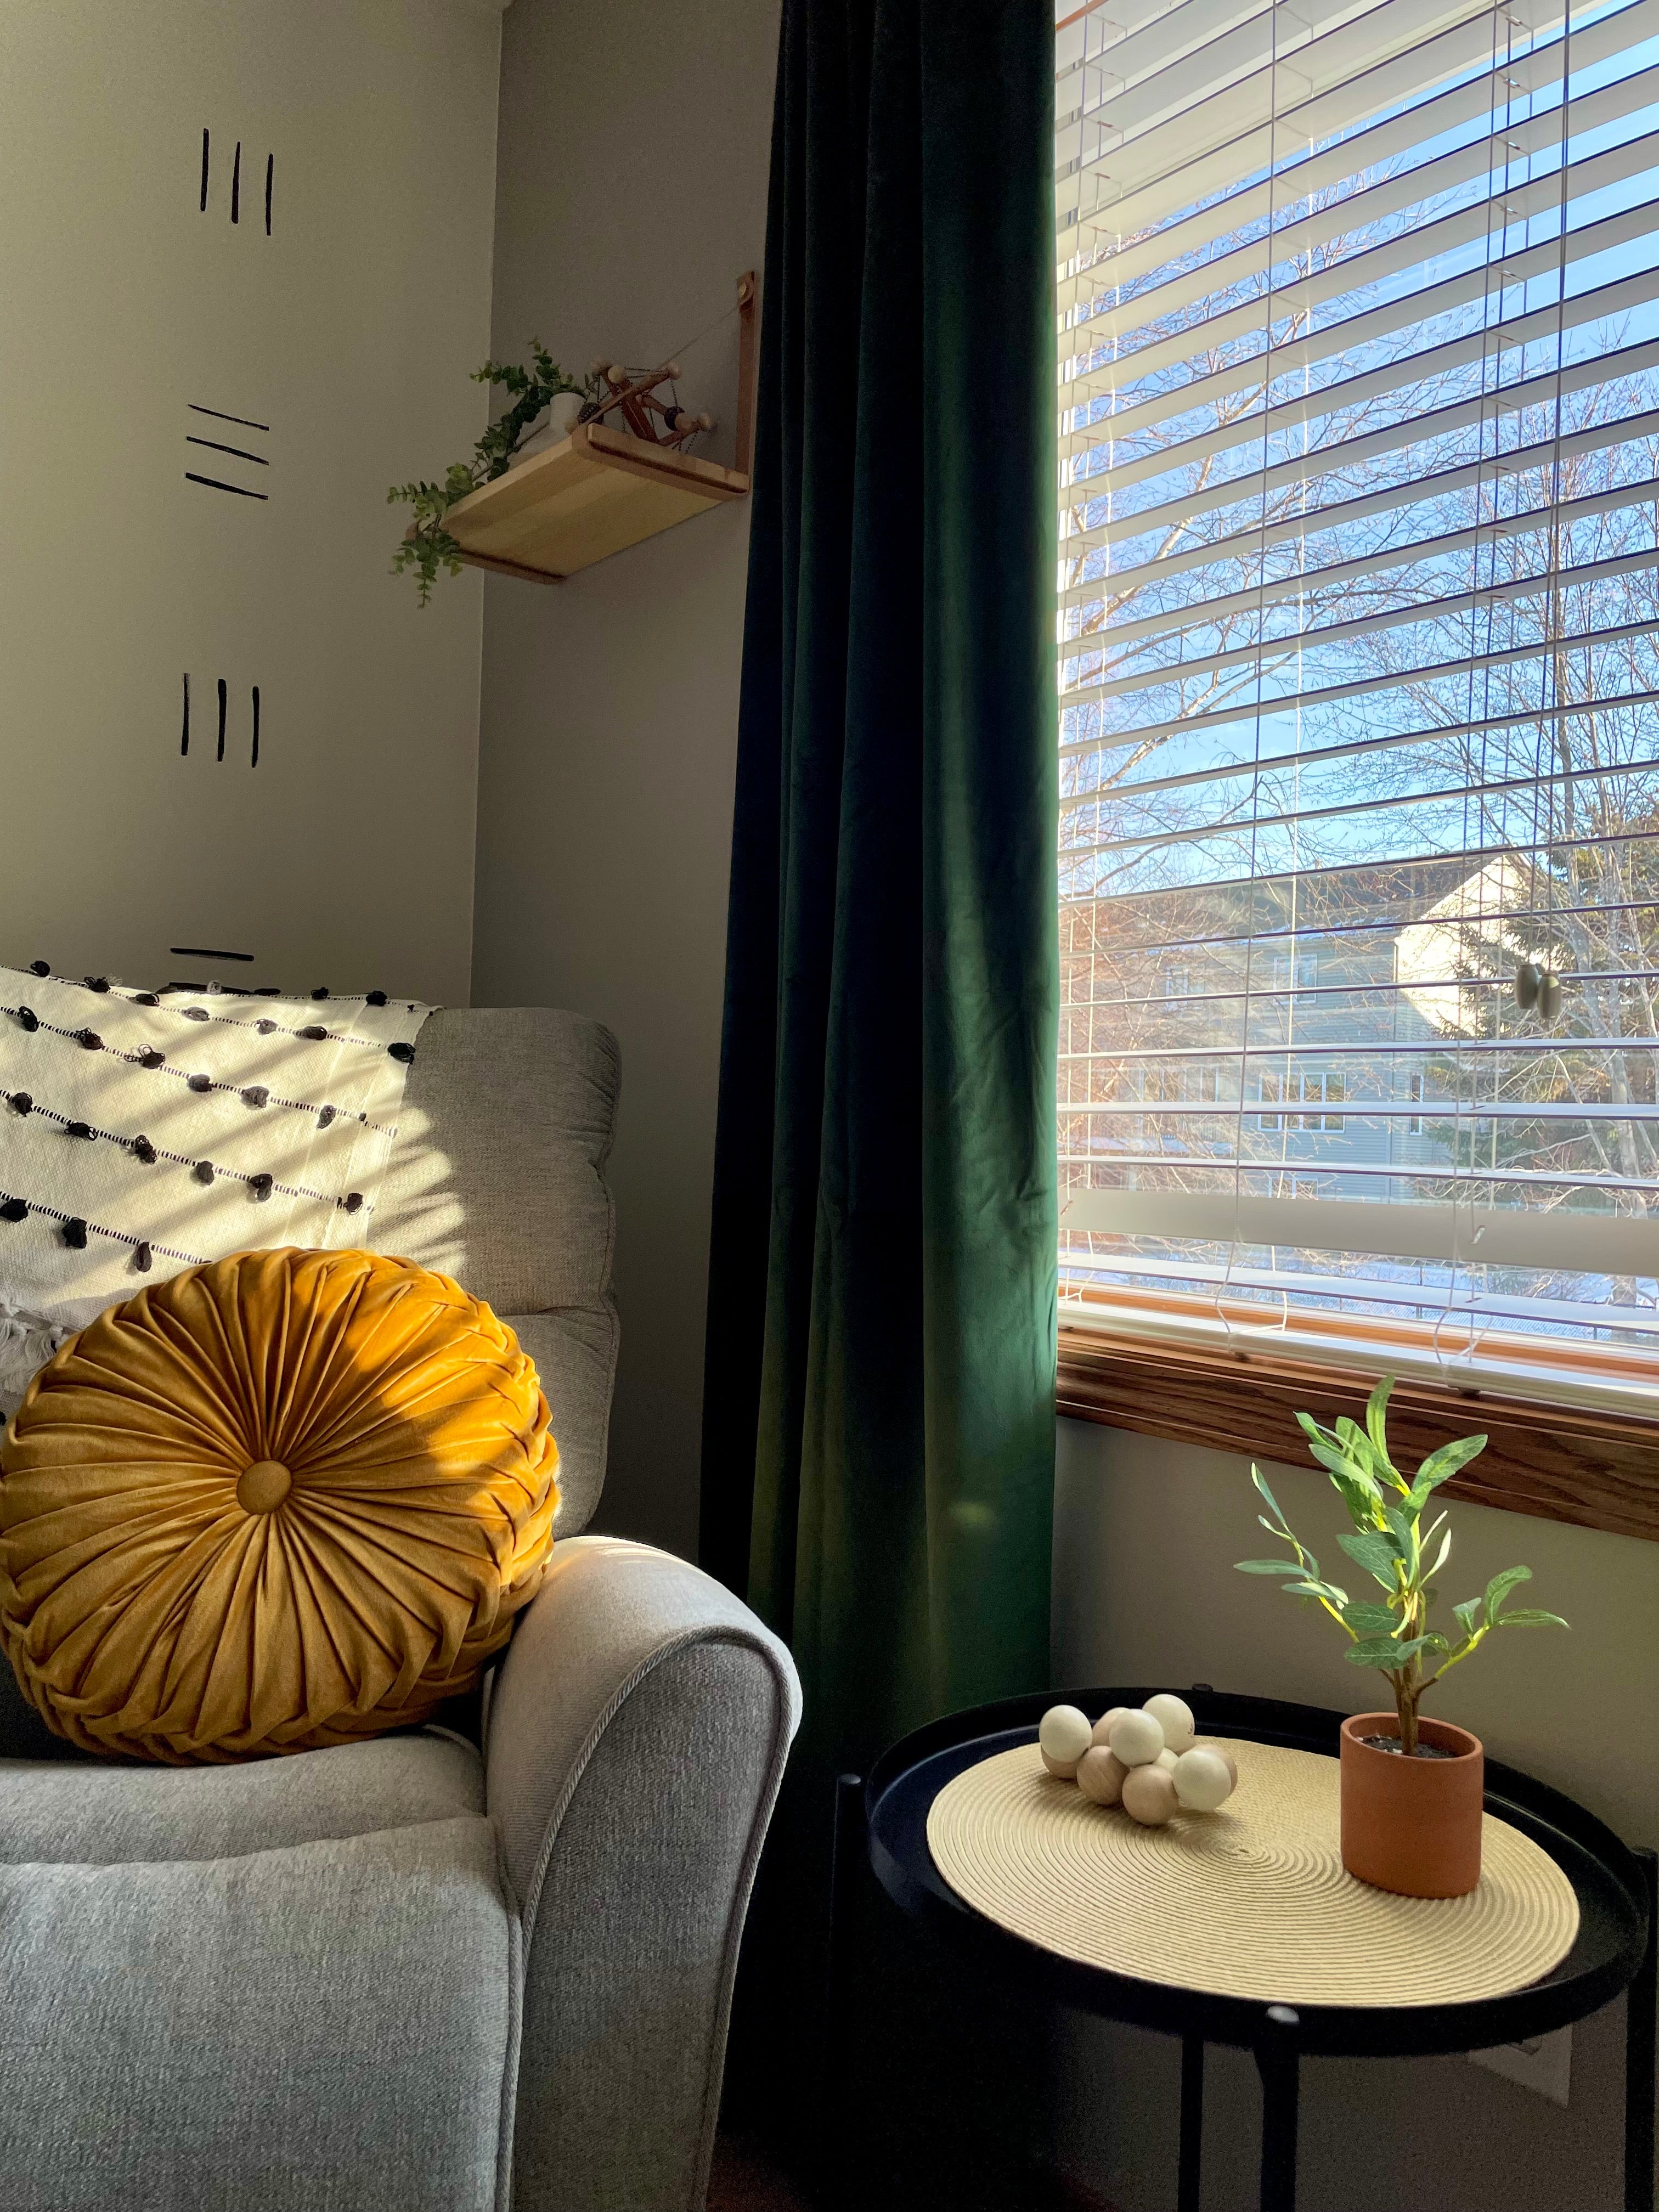
11. CREATE A COZY NOOK
No matter your child’s age, a cozy place to curl up in will always be inviting. Toss a beanbag chair in a corner, add warm lighting and books within easy reach, like in a basket on the floor nearby. And speaking of baskets…
12. BRIGHTEN UP BASKETS AND BINS
Spray paint baskets or open plastic bins for an instant face lift. Metallics, candy colors, or tonal colors (slightly different shades of the same hue) all make for fun kid room choices. Hold can about 6 inches away from basket and spray in long even strokes to minimize drips. Let dry and fill (for example with those books from tip 11).

Toys featured: Brilliant Bear Magnetic Stack Up, and a bin full of various baby toys and plush - Winkel, Adorable Bunny Theo, Zoo Winkel Bunny.
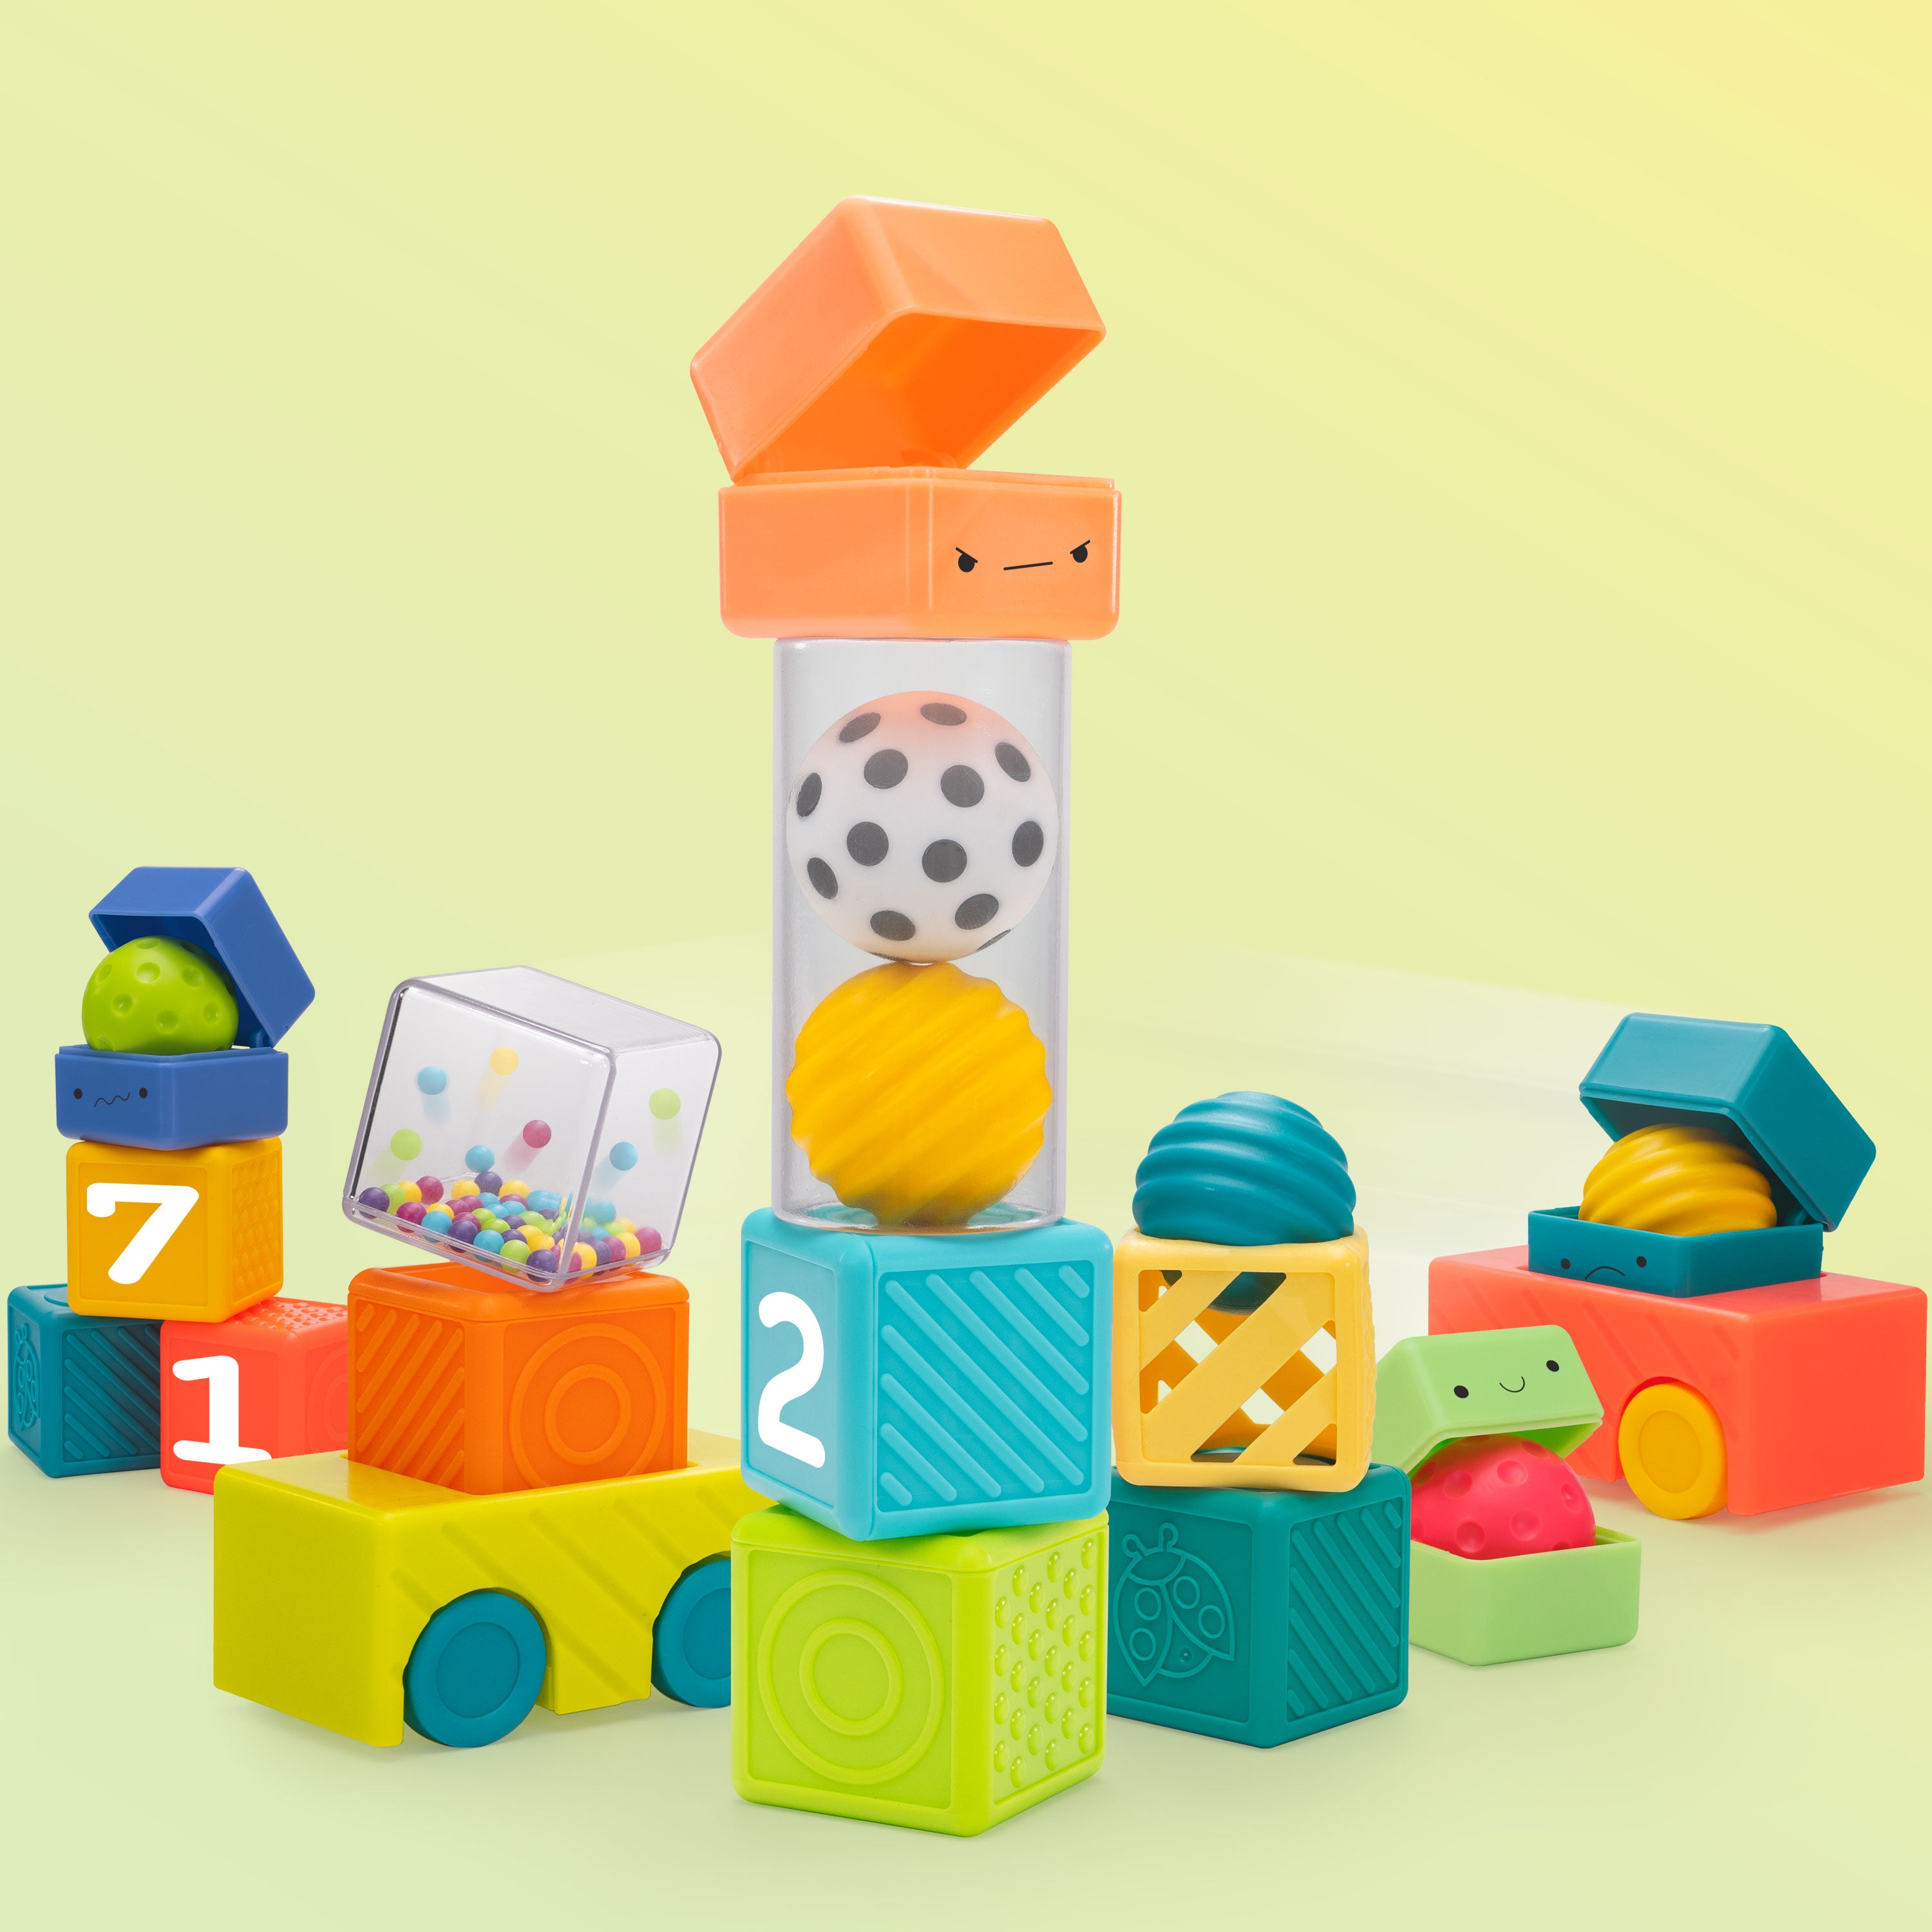
13. LET TOYS BE PART OF THE DISPLAY
Showcase favorite stuffed animals, bright, graphic toys, colorful kids’ books (face covers out) and more on open shelves. The objects’ cheerful personalities will become part of the room’s overall look, especially in a mostly neutral space.

Toys featured: Skwish Colorpop, Click Clack Colorpop, Whistleball Colorpop
14. HAVE AN EASY ORGANIZING STRATEGY
It’s a dream scenario: Your kids can find the toys they want when they want them and clean up is a breeze. Start making it a reality by sorting like objects together (cars, art supplies, dolls/action figures). Put them in separate bins, crates or clear containers, ideally with labels so everyone knows what lives where. Petite containers are especially helpful for small art supplies like beads, pom poms, sequins, etc.
15. COLOR INSIDE THE BOX
Paint or add wallpaper to the inside of shelves for a playful visual surprise of color or pattern. Here’s how:
• On a readymade unit, paint or wallpaper the back before attaching it.
• Another option: Remove shelves, then wallpaper them.
• If painting, first sand shelves as well as the inside of the cabinet. Tape off shelves’ front edge for a pop of contrast. Prime, then paint shelves and the cabinet’s interior.
16. LOOK BEHIND DOOR NUMBER ONE (AND TWO AND THREE)
The backs of doors make for great additional off-the-floor storage. An over-the-door organizer with pockets can hold shoes, toys, extra clothes and more; even better if the pockets are clear so you can see what’s inside.

Photo credit to @theheinrichhouse
17. BUILD AN EASY-ACCESS ART STATION
A rolling cart is a handy solution for art supplies. Organize markers, pencils and crayons in separate containers. Sort and store construction paper in a rack or folders. Add tape, paints, paintbrushes, stickers, whatever your child loves. Roll the whole setup to wherever the creative magic is happening—and roll it away just as easily when the fun is done.
Leave a comment